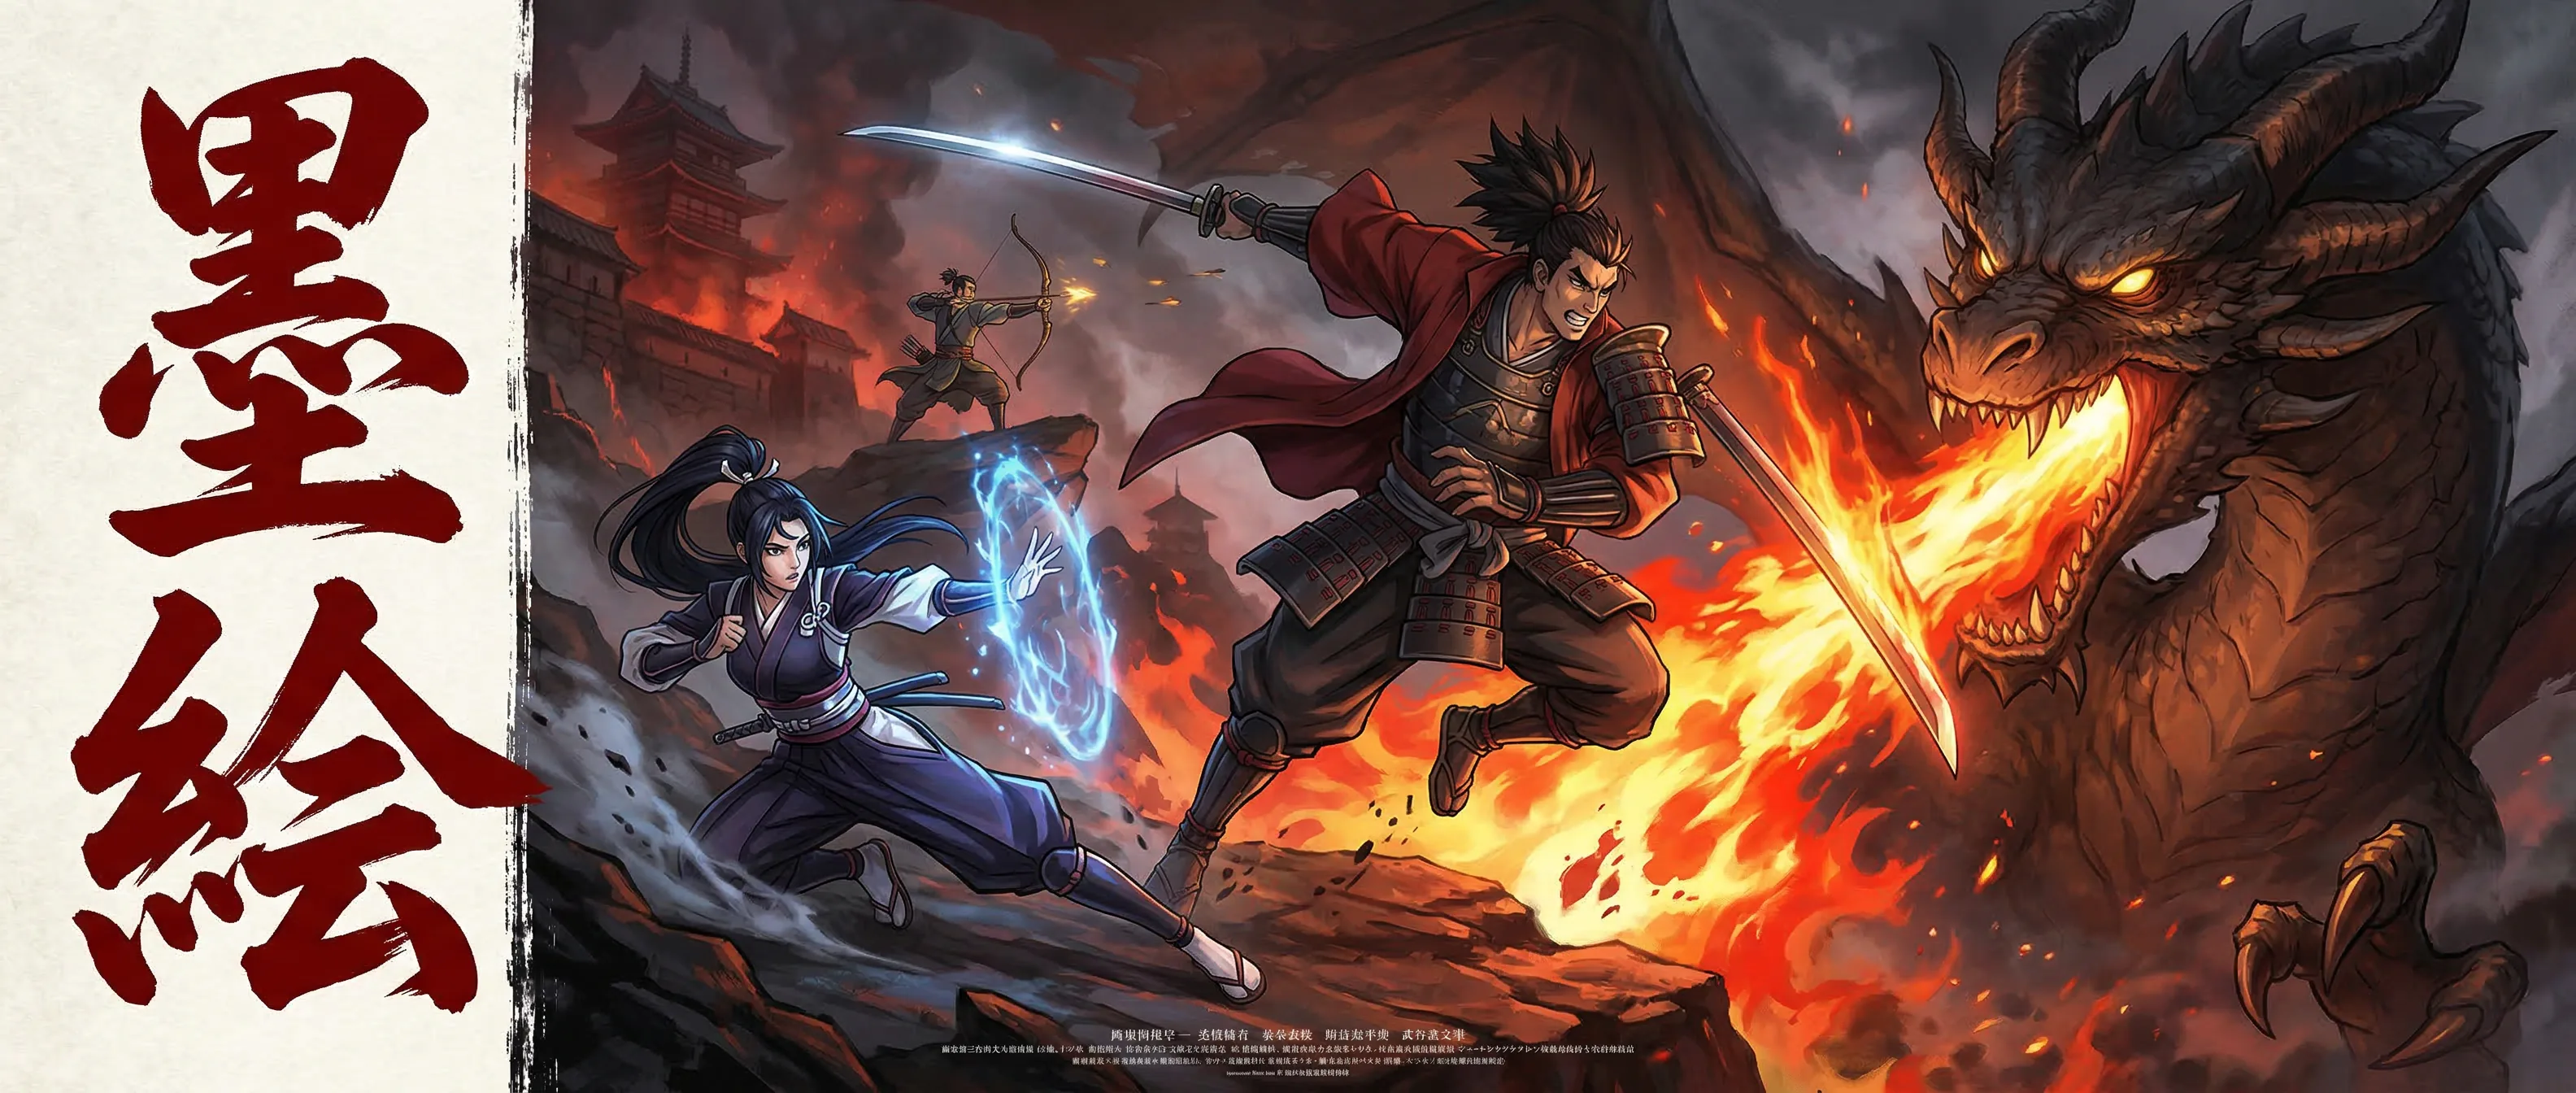
Mastering Manga Action Scenes: Speed Lines, Impact Effects, and Dynamic Composition
A technique guide for creating high-energy manga action panels using SumiSplash's Action FX, speech bubbles, liquify engine, and panel tools.
Why Action Scenes Define a Manga Artist
In manga, action scenes are the crucible where every skill is tested simultaneously. Character drawing, perspective, composition, pacing, effects work, and panel layout all converge in sequences that must convey speed, force, emotion, and spatial clarity — often in a single panel. A well-executed action scene makes readers feel the impact. A poorly executed one confuses them.
The visual vocabulary of manga action has been refined over decades by masters like Akira Toriyama, Yusuke Murata, and Kentaro Miura. Speed lines convey velocity. Impact bursts sell the force of a hit. Panel structure controls pacing — small panels accelerate time, large panels freeze a moment for maximum impact.
SumiSplash's toolset is designed around these manga-specific requirements. This guide covers the techniques and tools for creating dynamic action panels: composition strategies, effective use of speed lines and impact FX, panel layout for action pacing, speech bubble placement in kinetic scenes, and using the liquify tool to refine action poses.
Dynamic Composition: Breaking the Grid
Static compositions feel static. Action demands diagonal energy — characters drawn along diagonal lines rather than vertical axes, perspective lines that rush toward a vanishing point, and panel borders that tilt or break to suggest motion that can't be contained.
Start your action panel layout by identifying the key moment: where does the punch land? Where does the sword connect? This impact point should be the compositional focus — typically placed at a power position with all visual energy flowing toward it. Characters' motion lines, speed effects, and perspective convergence should all point to or radiate from this focal point.
SumiSplash's Panel Tool lets you create angled panel borders that reinforce diagonal energy. Instead of rectangular panels, tilt the borders 10-15 degrees in the direction of motion. The Perspective Grid overlay helps maintain spatial consistency even in dynamic compositions — a tilted panel should still have coherent perspective, just from a tilted viewpoint.
Panel Tool
Create angled, dynamic panel borders that break the static grid and reinforce the kinetic energy of action sequences.
Perspective Grid
Maintain spatial coherence even in tilted, dynamic compositions — consistent perspective sells the illusion of depth and motion.
Template System
Cinematic and manga-specific templates provide starting points for action layouts with dynamic panel proportions.
Speed Lines: Conveying Velocity and Direction
Speed lines are the most fundamental action effect in manga. Parallel lines radiating from or converging toward a subject indicate the direction and intensity of motion. Dense, tightly-spaced lines suggest extreme speed. Sparse, widely-spaced lines suggest slower or more graceful movement. Curved speed lines following an arc suggest rotational motion — a spinning kick, a swinging sword.
SumiSplash's Action FX Tool provides speed line stamps in multiple configurations. Place them behind a moving character to indicate direction — lines should radiate from the direction of motion, not the character's position. For a character rushing from left to right, speed lines originate from the left edge and stream toward the right.
The most effective technique is combining hand-drawn and stamped speed lines. Use the Action FX stamps for background coverage — the dense field of lines that fills the panel — then draw additional speed lines by hand with the Ink Pen brush along the character's contour. These hand-drawn lines integrate the figure into the speed effect rather than making them feel placed on top of a background pattern.
Combine stamped and hand-drawn speed lines. Stamps fill the background. Hand-drawn lines along the character's contour integrate the figure into the motion — making them feel part of the velocity, not placed on top of it.
Impact Effects: Making Hits Land
The moment of impact is the climax of an action sequence. A punch connecting, a sword striking, an explosion detonating — these moments need visual weight that goes beyond the character drawing alone. Impact effects serve the same purpose as sound design in film: they make the audience feel the force.
SumiSplash's impact burst stamps provide the standard vocabulary: starburst patterns for physical strikes, concentric shockwaves for explosions, radiating lines for energy blasts, and debris patterns for environmental destruction. Place the impact stamp precisely at the contact point and scale the effect to match the intended force.
Layering is critical. Place the impact burst on a layer behind the foreground character but in front of the background. Add white space at the center of the impact to simulate the visual overload of a powerful strike — in manga, this is often represented by leaving the impact center completely white. Use the Eraser to carve out this white center from your impact stamp, creating the classic manga flash effect.
Motion blur stamps add pre-impact and post-impact context. Apply motion blur along the trajectory of the attacking limb to show the speed of the strike, and add small debris or sparkle effects radiating outward from the impact point to show the aftermath. This three-stage approach — motion blur (cause), impact burst (climax), debris (effect) — tells the complete story of a single hit.
Speech Bubbles in Action Scenes: Timing and Placement
Dialogue during action serves specific narrative purposes: battle cries, internal monologue during critical moments, trash talk between combatants, and strategic thinking. SumiSplash's four bubble styles map to these purposes: Shout for battle cries, Thought Cloud for internal monologue, Round for standard dialogue, and Whisper for quiet observations during chaos.
Placement matters more in action panels than anywhere else. Bubbles should not overlap the impact point, obscure the character's key action pose, or interrupt the flow of speed lines. Place dialogue in the dead space of the composition — the areas between action elements where the eye naturally pauses.
Timing is conveyed by bubble sequence. In a left-to-right reading flow, bubbles read top-to-bottom, left-to-right. A battle cry placed at the top-left is read first, creating anticipation. A reaction placed at the bottom-right is read last, creating response. This sequential placement is the manga equivalent of pacing in film editing — controlling when the reader receives each piece of information.
Using the Liquify Engine to Refine Action Poses
Action poses are the most anatomically demanding drawings in manga. A character mid-kick requires foreshortening, dynamic weight distribution, exaggerated anatomy for visual impact, and precise joint articulation. Getting this right in a single drawing pass is rare — even professionals refine action poses through multiple iterations.
SumiSplash's liquify tool is the refinement instrument for action poses. After inking a figure, activate the Liquify Tool and make targeted adjustments: extend a leg to exaggerate the reach of a kick, broaden shoulders to make a character look more powerful at the moment of impact, elongate a torso to enhance the stretch of a dodging motion, or adjust the angle of a head to better convey direction of attention during combat.
The key is subtlety. The liquify tool is most effective for adjustments of 5-15% — enough to refine proportions and enhance dynamism without distorting the artwork. Pull the extending fist forward by a few millimeters to make the punch feel more aggressive. Widen the stance slightly to make the character feel more grounded. These micro-adjustments accumulate into a pose that feels more dynamic and anatomically convincing than the original drawing.
20x20 Mesh Deformation
400 control points for precise, localized adjustments — refine a fist's position without affecting the torso.
GPU-Accelerated Processing
Smooth, real-time interaction on mid-range hardware lets you iterate quickly on pose refinements.
Non-Destructive Workflow
Adjust proportions and enhance dynamism while preserving original line quality and texture.
Putting It All Together: The Action Page
A complete action sequence typically spans 2-4 pages and follows a narrative rhythm: buildup (panels showing approach, tension, dialogue), escalation (panels showing action initiation with speed lines and motion), climax (a large panel showing the decisive moment with full impact effects), and aftermath (smaller panels showing reactions and results).
Use SumiSplash's panel templates as starting points, then customize the layout to serve the pacing. The buildup can use standard rectangular panels with even sizing. The escalation should transition to angled, increasingly dynamic panels. The climax panel should be the largest on the page — often spanning the full width — with the most intense speed lines, the biggest impact burst, and the most detailed character drawing.
The daily challenge system in SumiSplash provides ongoing practice prompts that frequently include action-oriented subjects. Use these challenges to practice the techniques from this guide in isolation: one day focusing on speed line placement, another on impact composition, another on dynamic panel layout. Consistent, focused practice builds the muscle memory and visual instincts that make action scenes feel natural rather than constructed.
Action sequences follow a rhythm: buildup, escalation, climax, aftermath. The panel size should mirror this rhythm — growing through the sequence until the decisive moment fills the largest panel on the page.
SumiSplash — Coming Soon
90 professional tools. Free at launch. No ads. No premium tier.